
Almost Perfect Cooked Eggs
A passing comment in a YouTube video introduced me to near-perfect hard-boiled eggs, and it’s the method I plan to use for a while.
Why Are Perfect Hard-Cooked Eggs… Hard?
The perfect hard boiled egg is elusive. I don’t just mean getting the yolk cooked right, but that’s the primary concern. There are guides that will tell you how long to cook your eggs in boiling water at sea level to get a particular yolk doneness, and yet people continue to try different methods for cooking eggs to get the whole egg cooked the way they like it: baking eggs in the oven, steaming eggs, and even pressure cooking them.
But there are also smaller adjustments. Some specify starting with cold water vs. starting with boiling water, or even caring about whether you store your eggs in the fridge or at room temperature. Understandably, people focus on the yolk because its flavor and texture change so dramatically, affecting how you use the egg if you’re not just eating it straight. But when an egg is cooked in a liquid at 212℉ (100℃) (the temperature at sea-level atmospheric pressure of water while it is boiling), the heat has to pass through the white to get to the yolk, so there is a predictable relationship between how cooked the white is and when the yolk gets to the target stage. The white is kind of along for the ride because it’s standing in the way of the heat that cooks the yolk.
And it’s going through its own drama.
You can imagine the yolk-cooking and white-cooking processes as being represented by two separate curves on a temperature vs. time graph, where the highest temperature the egg-parts reach dictates doneness. Take a look at the simulation below. The black line charts the temperature changes of an egg white during cooking. The reddish line charts the yolk temperature. The egg cross-section shows how doneness progresses. At the default settings, the graph represents plunging a cold egg into boiling water, setting a timer for ten minutes, then removing it to a bowl of ice cold water. (You can play with the numbers all you want later, but bear with me for now.) The simulation suggests the egg stops cooking completely in the center about 4 minutes after it was iced. That’s where I’ve set the slider to display the egg doneness at that point. (Eggs can cool off, but that doesn’t reverse doneness, so it’s truly done at that point in time and forever!)
Simulation: Boiling Water Methods
| Things to notice | Why |
|---|---|
| Black dot/circle on the black line | Indicates when the egg white has reached 80 degrees C, which is when it begins to get rubbery and release sulfur compounds |
| Green ring on egg yolk | Indicates that part of the egg has begun to become overcooked. Harmless, but I don’t like it. Produced by a reaction with the sulfur in egg whites. |
| Peak of the red curve | Indicates when in time the yolk has reached its max temperature (and doneness) |
| Peak of the black curve | Same as above, but for the white. |
| Pink horizontal bar | The “jammy” zone. While the yolk graph is in this zone, the yolk is jammy (only on the way up) |
| Change in the two plots when the egg is plunged into ice water | The white temperature drops immediately, but the yolk, insulated from the ice water, reacts differently. |
OK, now that you can read the graph, you can see with the way I set it up that the max temp the white reached was around 93℃ (199℉). If, like me, you’re not a huge fan of more rubbery whites, you will not be thrilled with this. And you can see from the graph that a lot of playing with the numbers will still land you in rubbery white territory.
That’s one thing that leads me to like slightly jammy eggs – that yolk stage where it doesn’t run at all, but it hasn’t turned a chalky yellow. It may, instead, be a brighter, slightly orange gel. This yolk texture is desirable (to me, at least) because I prefer that yolk to be more savory and flavorful. That’s how I perceive a jammy yolk.
So, You’re Just Picky About Your Eggs?
Why wouldn’t I be? One way to solve this whole deal is to just cook the egg less and embrace your jammy egg. That’s my “cooking compromise”: an egg cooked the way I like, but not useful for other purposes, like the egg salad my wife likes. Life is good, but can it be better?
To change the dynamic between cooking the proteins in the white and the magical combination of flavors in the yolk, you can move away from using boiling water1.
So, how am I cooking my eggs lately? Don’t get mad at me for being eggstra.
Sous Vide Hard-Cooked Eggs
I’ll refer you to elsewhere for all the details of sous vide cooking. In brief, it is cooking food (often proteins) by placing it under water at a specific, constant temperature for an extended period of time. For many foods, like a steak, this requires placing it in a vacuum-sealed bag. Eggs don’t require that, as they’re already in a shell.
Someone suggested sous vide cooking eggs at 167℉ (75℃) for 45 minutes. You then remove the eggs and plunge them into cold water to stop any cooking.
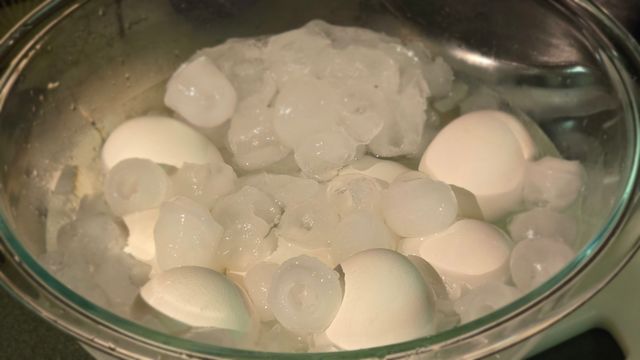
Traditionally, people would use a purpose-built immersion circulator for cooking sous vide, but for cooking eggs this way I use an Instant Pot Duo Crisp that has a Sous Vide function that allows me to set the temperature precisely. For those interested, there is a section at the end of this post with more details about this approach, and alternatives.
But let’s talk about the expectations and results. I created a simulator for sous vide cooking eggs to show how different it is from boiling.
Simulation: Low Temperature Immersion Cooking
Here I’ve got the default values showing you the cooking scenario described above.
| Things to notice | Why |
|---|---|
| How close the cooking curves are | It illustrates how slow, extended heating at lower temperatures lets the whole egg come up to its max temp basically at the same time |
| How long and flat the curves are | Even though the yolk still lags behind, it approaches the temperature of the white, which has basically stopped cooking at its max temperature, allowing the yolk to catch up. You wait for them to stay at the same temp for a good, long, safe cooking time. |
| Specifying water temperature defines where that long flat section of plot tops off | It means that you can choose the whole egg doneness wherever you like. Make sure you’re always cooking long enough that the egg is safe to eat2. |
| Where’s the black dot? | Unless you really push the water temperature up near boiling, the dot’s not there because the egg whites won’t reach rubbery temperature. |
The simulation shows the nearly-complete control you have over the egg-cooking process in a sous vide scenario, if what you’re looking for is all the egg parts cooking similarly at the same time.
Results
These eggs are close to perfect. The whites are silky-set, a tender texture that is in no way rubbery. The yolks are cooked to a delicious point that could also be crumbled into egg salad. If you didn’t like this result, you can see from the simulation that it’s easy to choose something slightly different. But take a look:
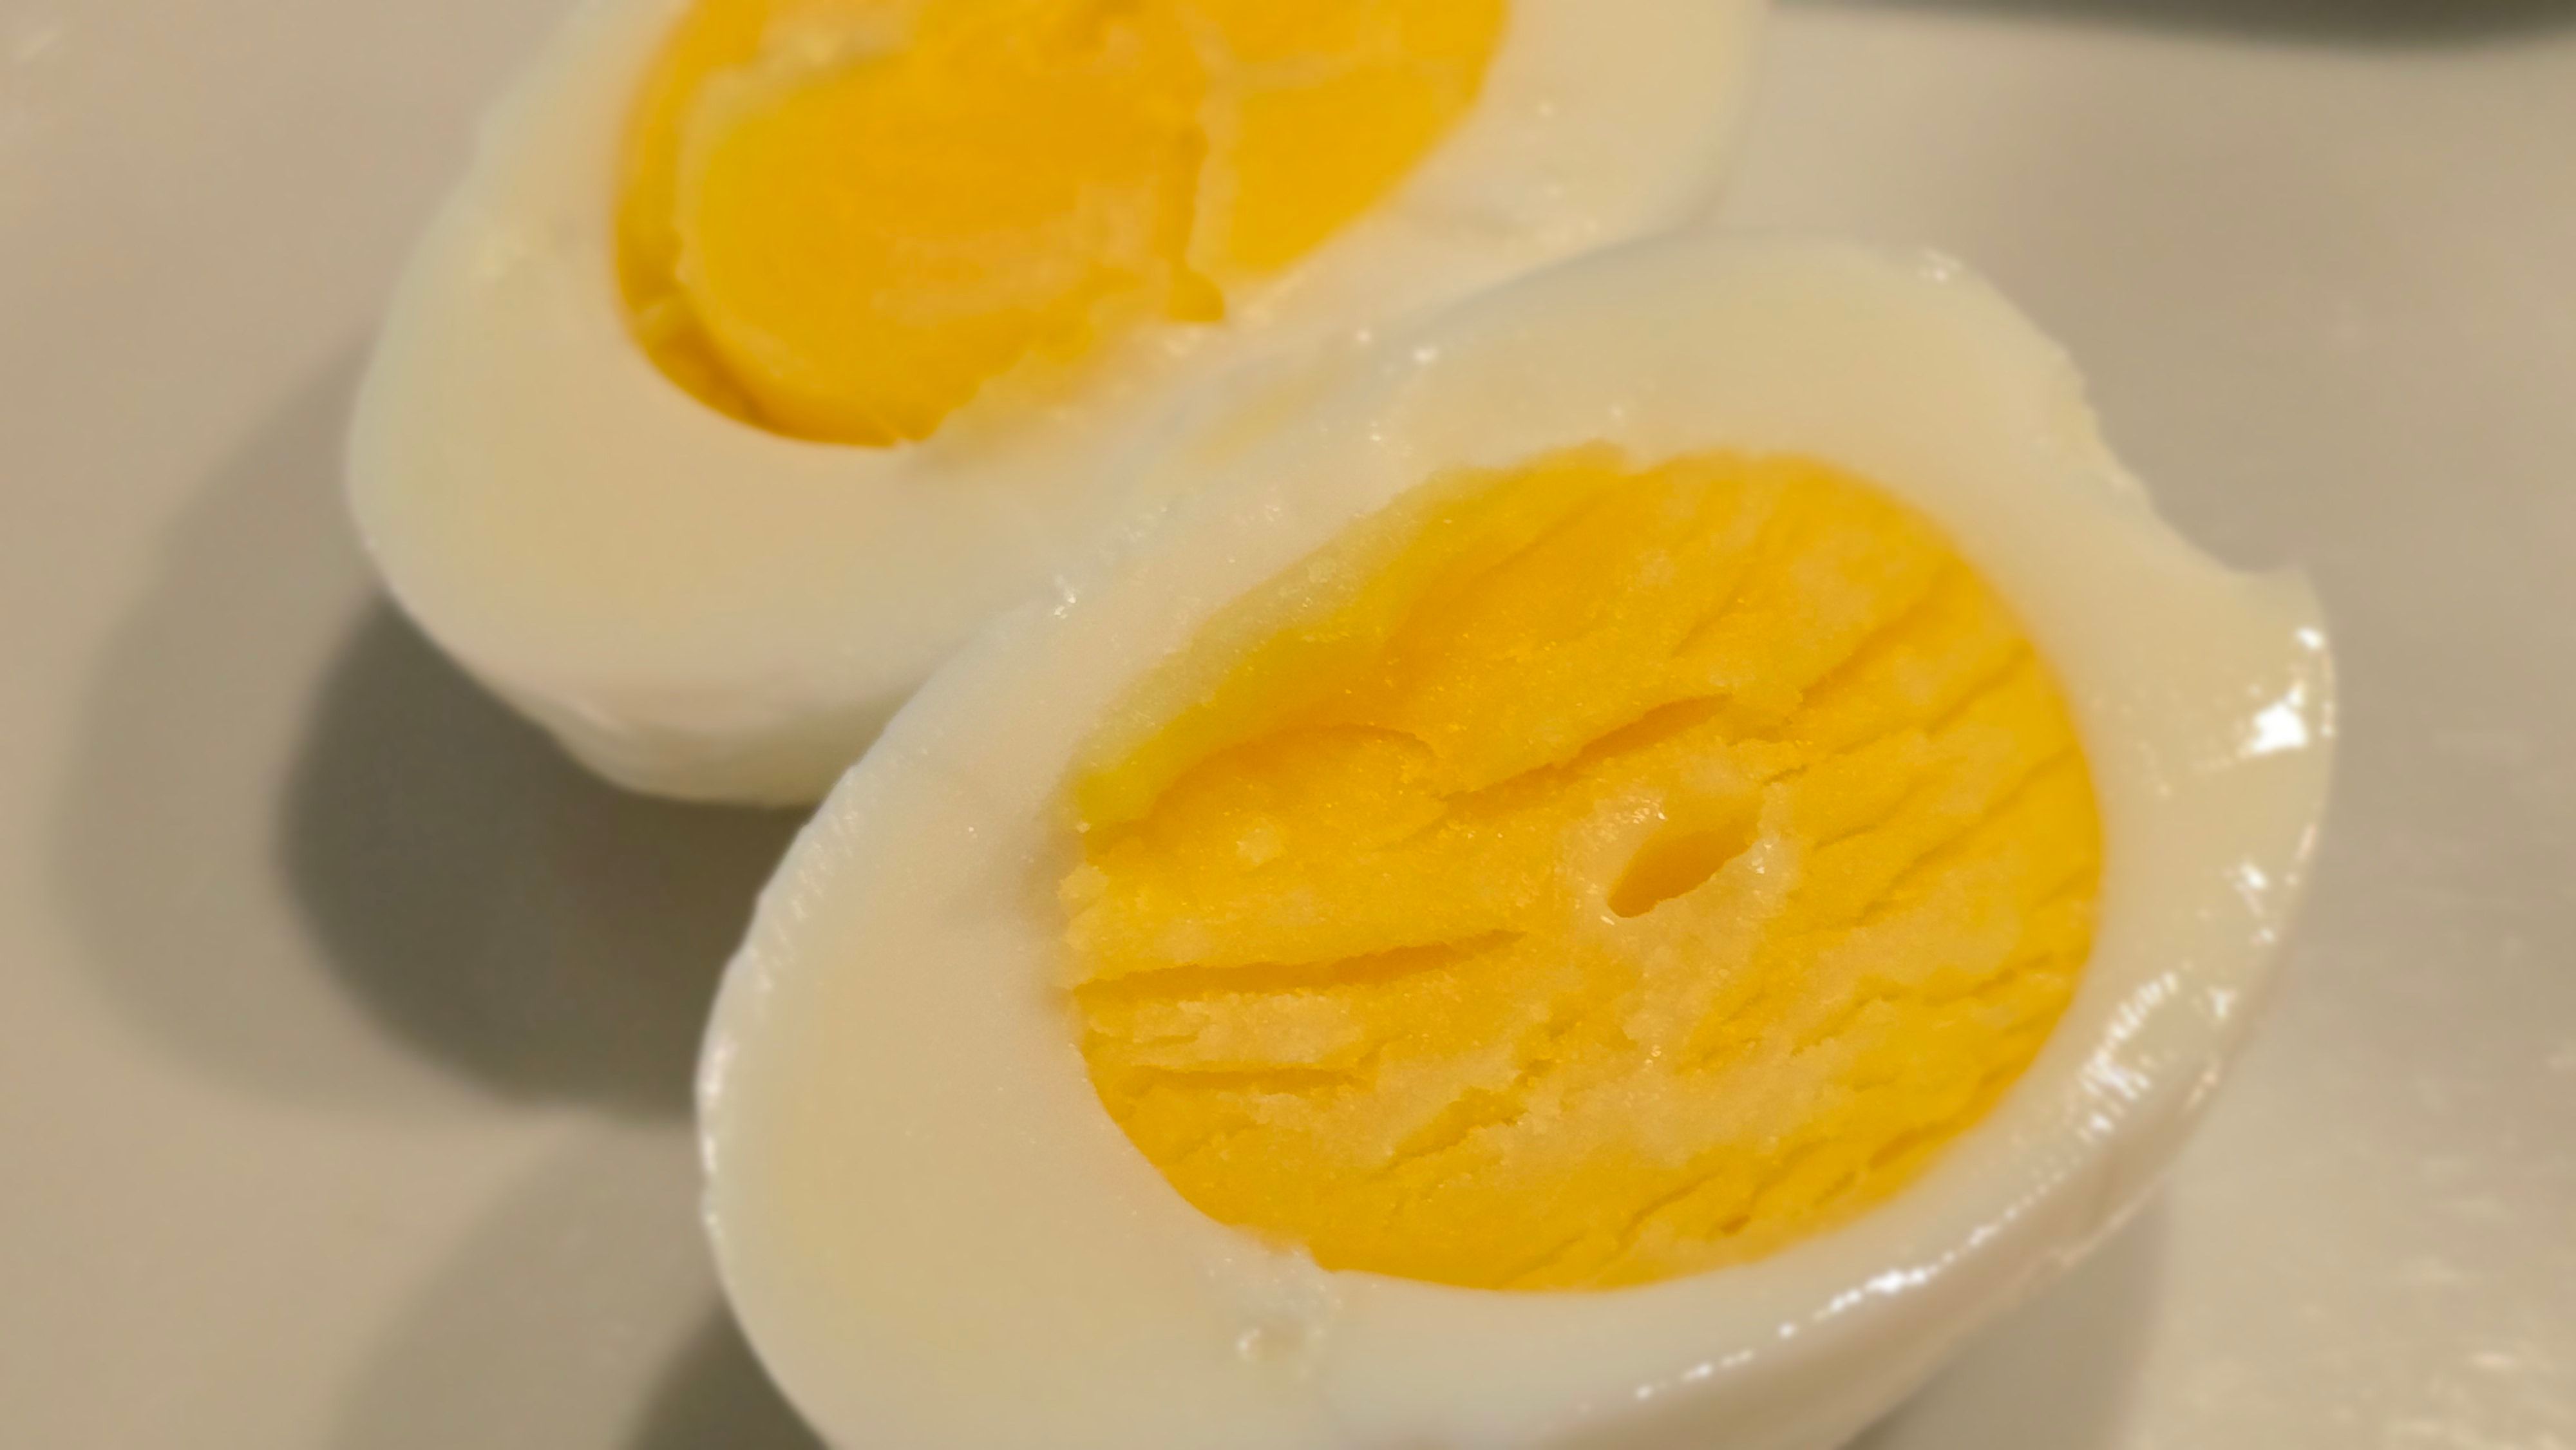
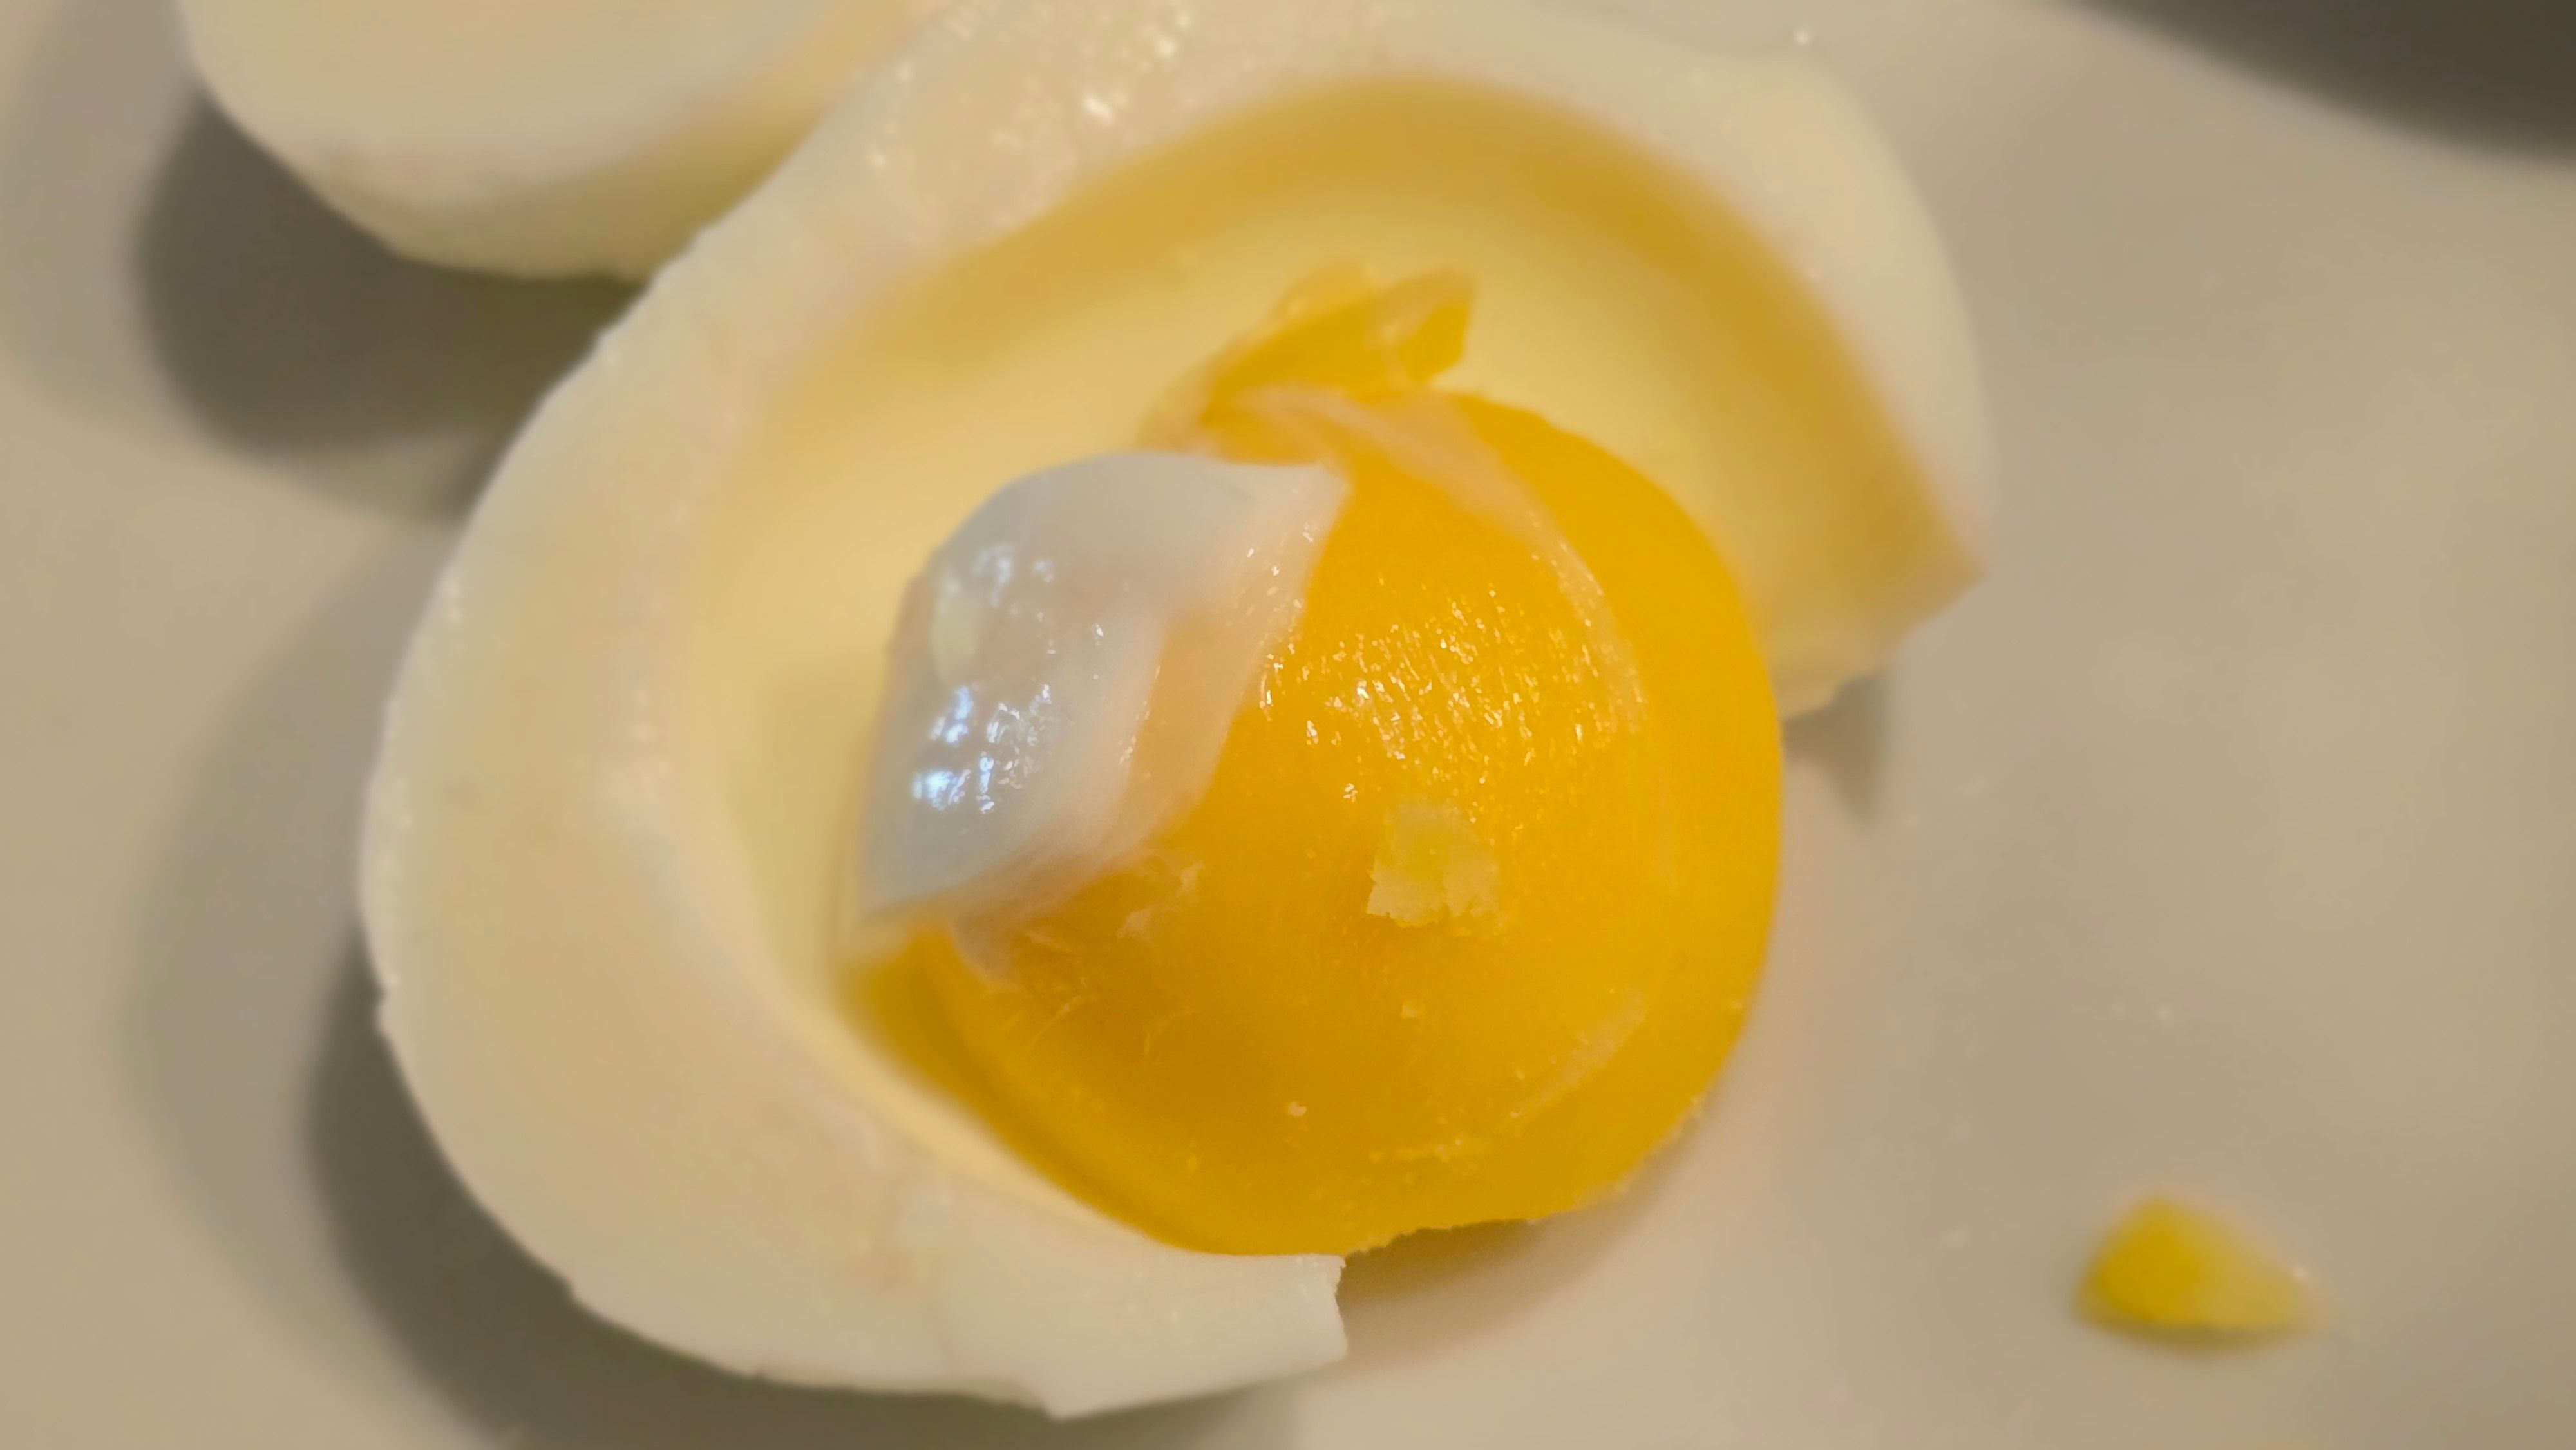
My main complaint is that silky-set whites are sometimes hard to separate from the shell, because they are so tender. Other methods do have advantages where peeling is concerned. You decide. Choose a firmer white by increasing the temp, but remember that it’s not hard to go over that rubbery white line.
Strictly speaking, this isn’t a review of boiled eggs as a snack, but if it were, they would rate S-Tier.
| Feature | Details |
|---|---|
| Product Name | Egg |
| Allergens | Contains: Egg |
Refer to the experts on nutrition for details supporting egg as a great, healthy snack, especially helpful to people attempting weight loss.
If what you were here for was to hear about the approach and see the results – this is the end! However, if you’re interested in ways you could try sous vide eggs without the model of Instant Pot I have, read on. Or if you want to play with the egg doneness simulations, and maybe read a little more about them, you can visit their dedicated page on this site.
Techniques and Equipment
Details on My Method
The Instant Pot Duo Crisp has a Sous Vide setting that lets you set the time and temperature for a cook. You set both those, and it brings the water up to temperature. Then it beeps when the water is at temperature, signaling that it is going to start the timer. Then the countdown begins, and it beeps again when it is complete.
This system doesn’t work for me.
First of all, I can use a combination of boiling water and tap water to get my water to the correct temperature, and if the Instant Pot can sense the temperature of the water (which it’s supposed to do), the timer should start almost immediately. But it doesn’t. As far as I can tell, it always takes about 30 minutes to A) heat the water and B) actually believe the water is the correct temperature. So, even if you make the water the correct temperature, it takes 30 minutes to work up its confidence in itself3. What I do instead is set the Instant Pot up with enough water that will cover the eggs, and that keeps the eggs off the bottom. I go away and come back sometime after 30 mins. At this point, I know it’s ready to cook. I put the eggs in and reset the time and temperature, then I set my watch to count down 45 mins. Then I don’t have to pay attention to the device’s timer. When my watch goes off, it’s time to cool the eggs.
And that works great.
Alternatives
Immersion Circulator
If you have an immersion circulator, you’re only reading this post because you’re curious about what I did, and you know what to do to get these sous vide eggs going. But you might also be interested in what Anova, the circulator manufacturer, has to say about it.
No? Well then how about Kenji?
Older Instant Pots
I also have a regular old Instant Pot Duo 6QT. It doesn’t have a sous vide function, but it does have a warming function that will stay on for hours, and I’m told it keeps food around 170℉. The simulation says “close enough.” I haven’t tried it, but if I were to, I would put water in there, leave it on Warming for 30 minutes, use a thermometer to check the temperature, then put the eggs in and set a separate timer for 45 minutes. It ought to do the same thing the sous vide setting does.
Don’t forget the ice water bath!
Just Plain Kitchen Equipment
Many people have tried sous vide without any sort of immersion circulator or temp-controlled pot. If you had a pot of water and a good thermometer, you could monitor the water and hold it at the right temperature. Like Martha Stewart has done!. I haven’t tried it.
Do you have a big ol’ insulated bottle? Or a small cooler? As long as you let these insulated vessels come up to temperature, they can hold temperature for 45 minutes. Start with the water at 171℉ and let it drift down. That’s better than constantly monitoring a thermometer. Keep the top on the vessel to trap the heat in.
Oven?
I swear I’ve seen people put a pot in an oven to sous vide stuff. I have no idea how successful this would be. Method: heat some water to 167 degrees F (75 degrees C) on the stove or whatever, and heat your oven to the same, or maybe just slightly higher. Put the eggs in the water, and the pot in the oven. Since the oven environment is temperature-controlled, it should keep the water from cooling off, but also shouldn’t heat the water up much. This works as a thought experiment. Anyone want to try this? May work best in a convection oven, which uses a fan to keep the whole oven temperature consistent.
Finito.
Update 2026.19.08
My egg-description-table earlier was a joke, and even though I linked to a reputable source on egg nutrition, it really bugged me that I didn’t have a real table in this post. So, here. I don’t want to update the joke table.
| Feature | Details |
|---|---|
| Product Name | Hard Boiled Egg |
| Brand | Whole Food / Generic |
| Flavor | Natural / Plain |
| Category | Whole Food Snack / High-Protein Snack |
| Key Ingredients | Whole chicken egg |
| Full Ingredients | 100% Whole Chicken Egg (Cooked) |
| Selling Point | 8g of complete protein, naturally nutrient-dense, single-ingredient whole food |
| Net Weight | 2.25 oz (64g per egg) |
| Calories | ~100 kcal / egg |
| Macros (Per Egg) | Protein: 8.1g | Fat: 6.8g | Carbs: 0.7g (0g Fiber, 0.7g Sugar) |
| Sodium | 79 mg (3% DV) |
| Dietary Badges | Gluten-Free, Keto, Paleo, Vegetarian, Dairy-Free, Zero Added Sugar |
| Allergens | Contains: Egg |
A standard large hard-boiled egg provides approximately 32% of its total calories from protein. While it doesn’t meet the protein * 10 (aka. 40% calories from protein) rule of thumb, for most people that’s more than enough protein for an approximately 100 calorie snack.
AI Disclosure: Language models were used to check the spelling and grammar on this post, and also for formatting/CSS generation. Always follow up on sources when a result has any AI involved, including with Google searches. All writing, math, perceptions, and reasoning on this post are my own. For AI use related to the creation of the dynamic simulations, refer to the page dedicated to those simulations.
-
You don’t necessarily have to abandon boiling to get great boiled eggs. I’ve put three cooking protocols into the first simulation, including one inspired by Chef John’s recipe. What’s notable in different approaches is that when the two cooking curves are closer, the doneness of the different parts may be closer as well. Play with the different parameters. Try the Egg Doneness Simulator on its own page to get more details. ↩
-
At the low, low temperature of 131℉ (55℃), an egg will be pasteurized if cooked for 2 hours. But you need to use an immersion circulator, because you’re pushing the time/temp line here. This is how you can make eggs that you know are safe to use in recipes that ask for raw egg. I RECOMMEND that you research this before doing it, or use 135℉ for 90 minutes – I’m more comfortable with that time and temp, but do your research and then you do you. I got those numbers off a screenshot from a modernist cookbook, and I don’t have a reference for it. But the higher temperature is definitely safe4, because we know from other cooking that 167℉ kills salmonella in a fraction of a second. I only mentioned egg pasteurization to illustrate how low and long you could take the process, to underscore the safety of 167℉ (75℃) for 45 mins. ↩
-
OK, it probably has a good reason for this, and it’s not working up confidence. Maybe it’s just trying to make sure that the whole system, not just the water, is at the same temperature so that it can offer temperature stability. ↩
-
The USDA says that the internal parts of the egg must reach 160℉ (71.1℃). Which will happen with this sous vide method, less than 25 minutes into the process. ↩


Leave a comment