
Improved Hydration Targeting
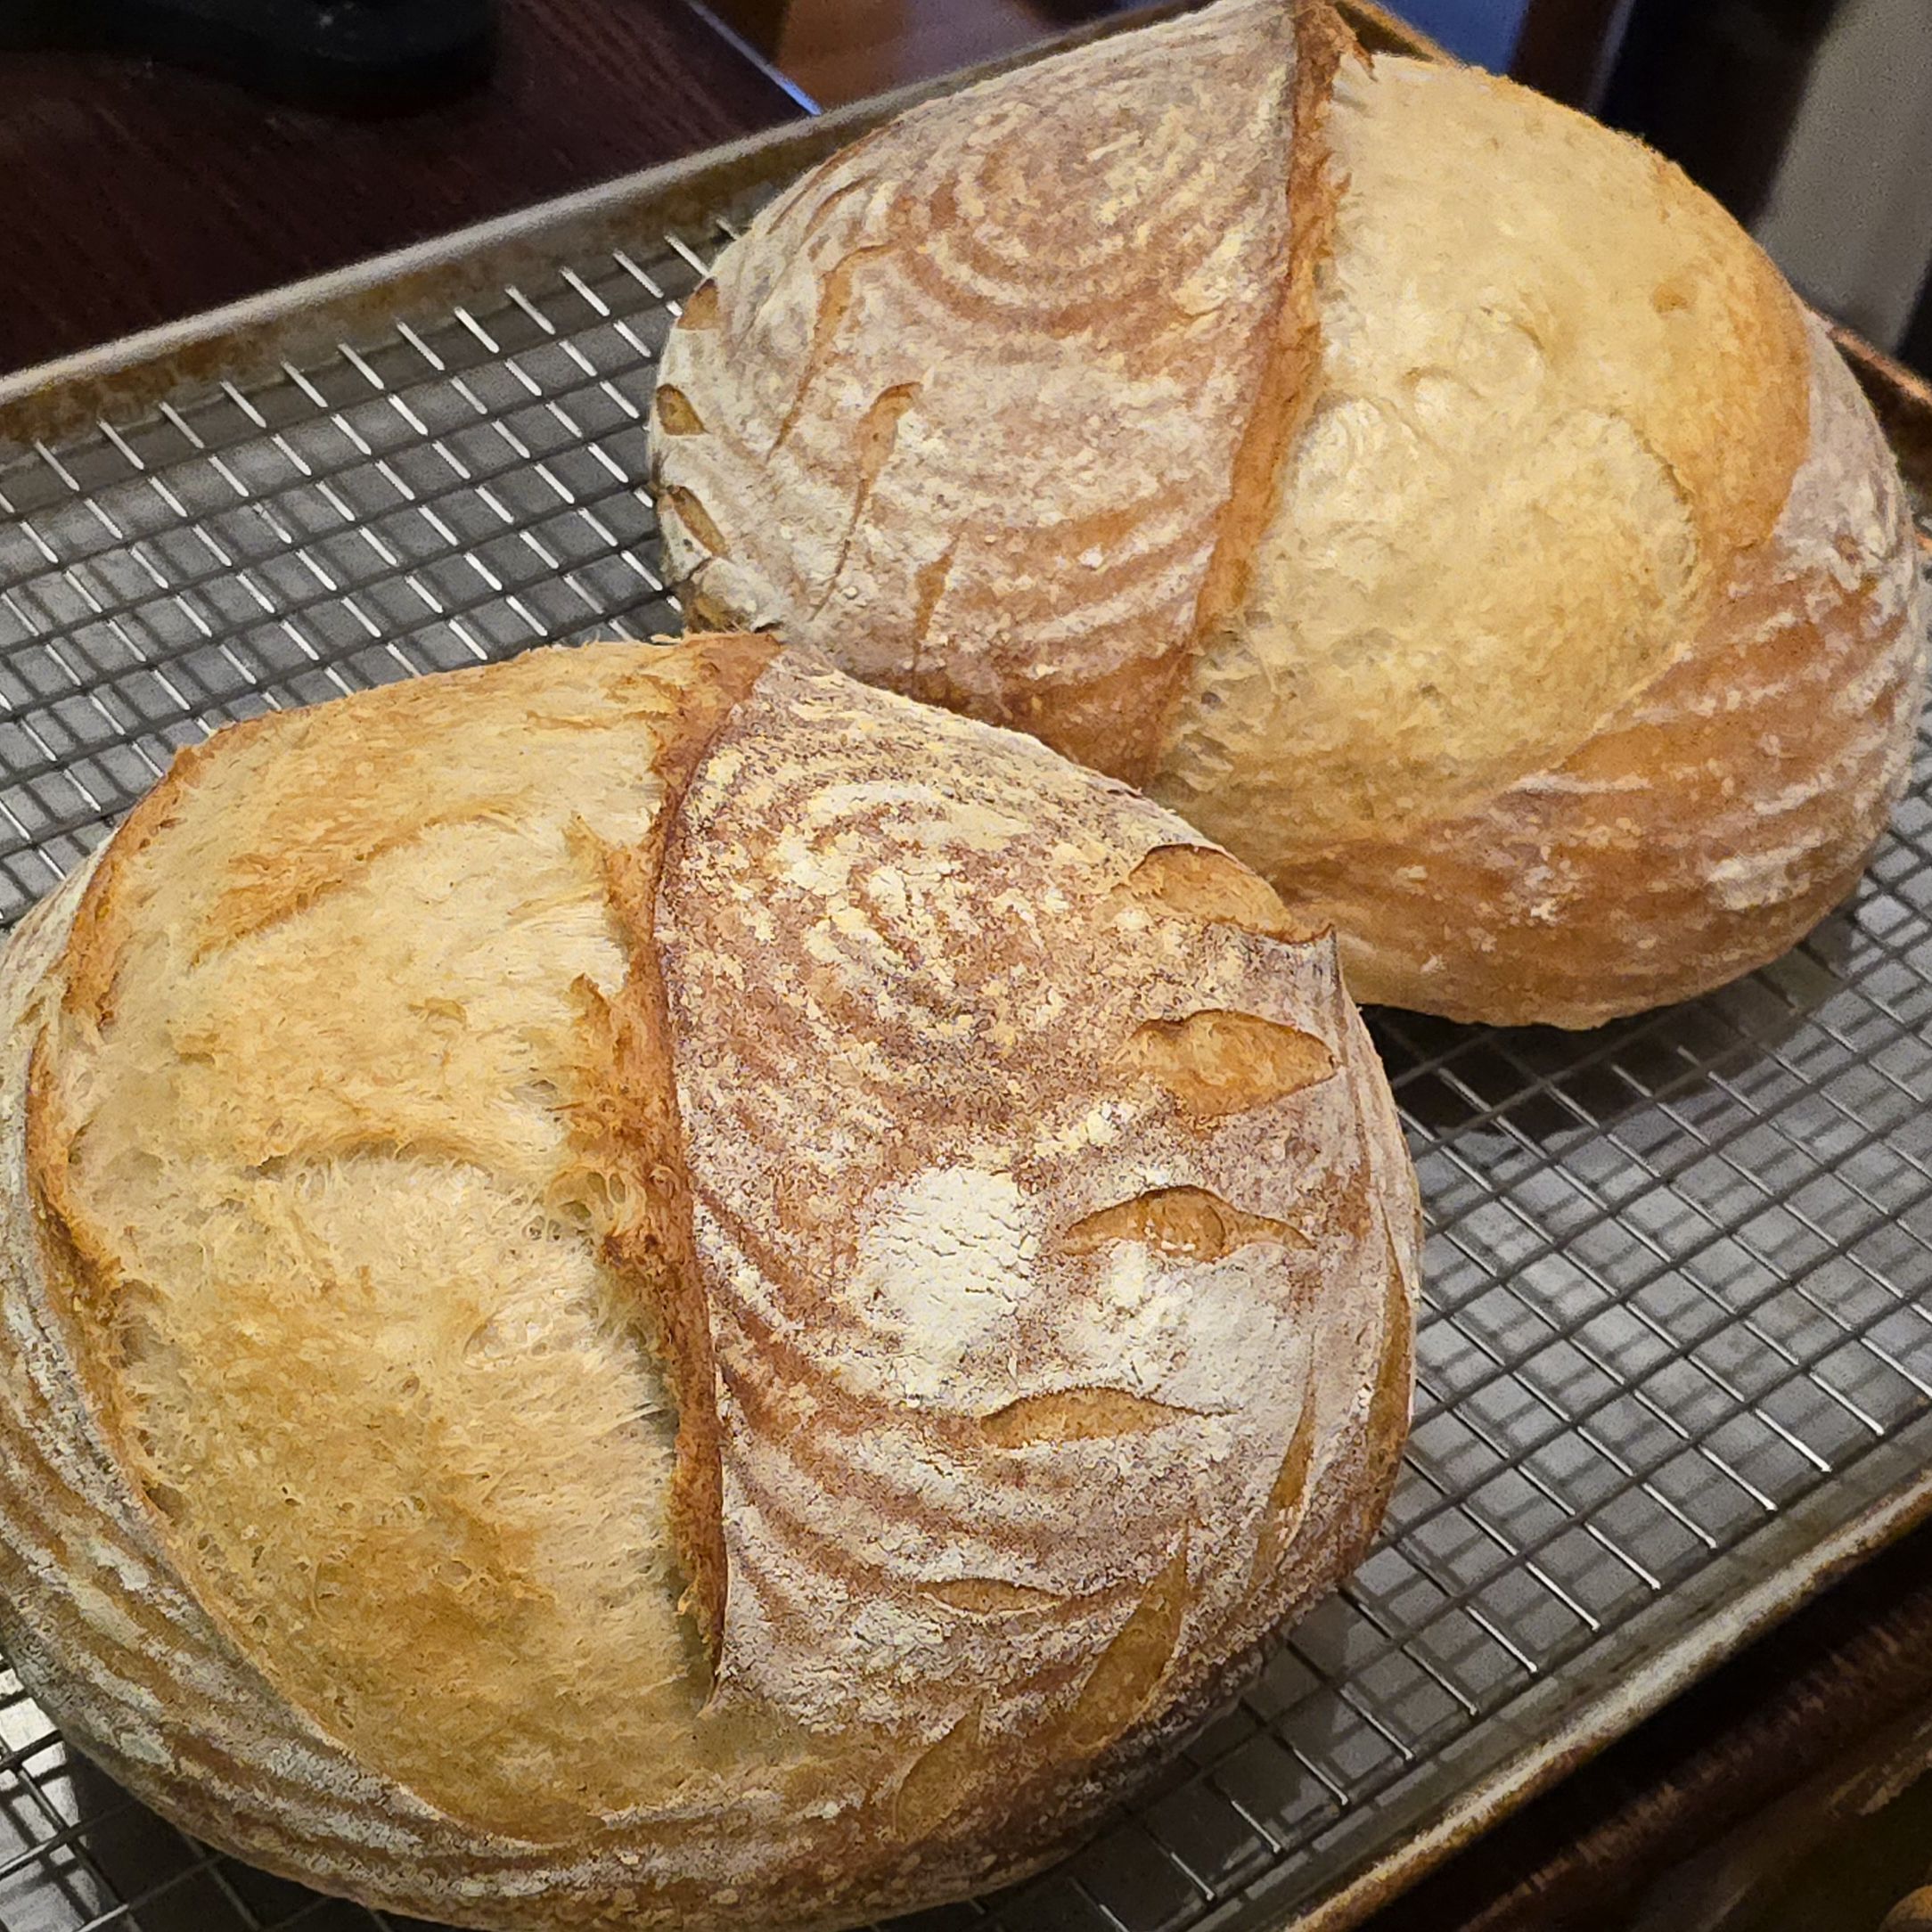
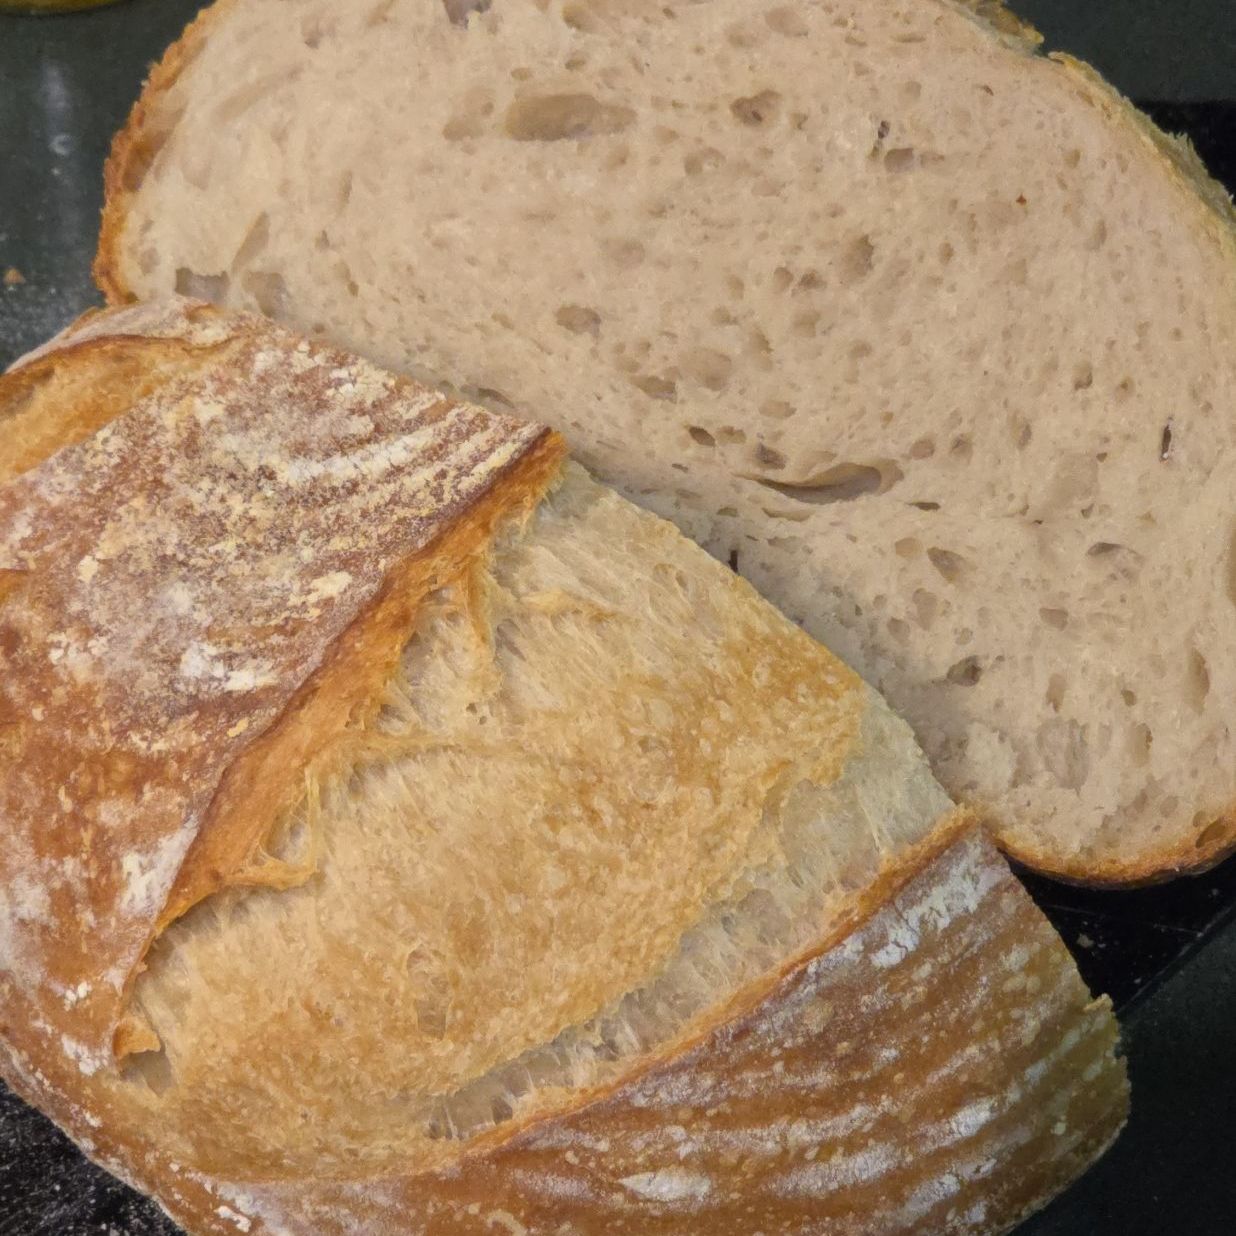
This weekend I baked sourdough again. I want to write down my exact recipe and process so that I can reproduce it if necessary, since (on and off) I haven’t had good dough strength and structure in my recent loaves, until these, which were much better behaved.
This is a reduced hydration from what I have been doing recently. Every time I increase my hydration, I see some benefits (like thinner, crisp crust) and then I fall into a rut of poor oven spring and weak dough structure. So, this is what I will go back to when I need it to be reliable.
Nice Loaves March 29
Ingredients
- Active Sourdough Starter: 200g
- Active Dry Yeast: 2g
- Water (lukewarm temperature): 740g
- KAF Sir Lancelot Flour: 1000g
- Castle Valley Mill Bolted Hard Wheat flour: 50 g
- Salt: 20g
- Olive oil
- rice flour (optional) for bannetons
Equipment
- Camwear 12 qt round food storage container (for mixing and folds)
- Cambro 6 qt round (for bulk rise)
- Dough scraper(s)
- Silicone spatula
- Bannetons (proofing basket): 2
- Spray bottle (to moisten bannetons ahead of flouring them if rice flour is used)
- Dutch ovens
- Lame (for scoring)
Instructions
- Mix Ingredients: In the Camwear, place 1000g KAF flour and 740g water. Mix with spatula until all flour is moistened. Eliminate all dry flour, not because the dry flour is a problem, but because a thorough initial mixing stage confers various benefits.
- Autolyse: Cover the bowl and let the dough rest for 30-45 minutes.
-
Leavening: Add the 200g of starter, 50g Bolted Hard wheat flour, and active dry yeast. Mix to incorporate. I added the 50g of bolted wheat here because I was balancing the excess water in the starter (really a levain at this point) to set the dough hydration at 73%.
I picked up the addition of active dry yeast from Ken Forkish in Flour Water Salt Yeast. Complain to him if you don’t like it.
- Salt: Once the leavening is well-mixed-in, add the salt. 20g. I don’t like the salt to come in concentrated contact with the leavening. Finish with some stretches and let it rest, covered, for 30 mins.
- Stretch and fold: After 30 minutes, do another set of stretching and folding. Then rest for 30 mins.
- Coil fold 1: Do one set of coil folds. Prior to the coil folds you should notice that the dough passes a windowpane test. If it doesn’t, you might need more stretches. Rest 30 mins.
- Coil fold 2: Do a second set of coil folds. Notice the texture of the dough. It should be holding together well now and have a bounciness.
- Bulk Rise: Take the coil-folded dough and place in the Cambro container (lightly oiled with a mist of olive oil) for the bulk rise. Cover and let the dough rise at room temperature for 3+ hours until somewhere over not quite doubled in size.
- Pre-shape & Rest: Gently turn the dough out onto a work surface. Divide into two. Pre-shape them into rounds by folding edges underneath, then using the heel of your palm and side of your hands to round the dough against the work surface, pulling the dough across the surface by dragging your hands against the work surface. Cover with bowls and let rest for 20 minutes.
- Final Shape: Lightly flour the tops of the doughs. Flip the dough top-down. Stretch out the dough into a rough rectangle, then fold like a letter. Turn the dough and roll into a tight roll. Roll the dough over so that the top is facing up again, and round out the dough. Place them seam-side up in a well-floured banneton.
- Proofing: Allow the dough to proof in the refrigerator overnight for a slow fermentation. 8-12 hours. Alternately, 2-3 hous on the counter.
- Scoring & Baking: Preheat your oven with a Dutch ovens inside to 450°F. Gently transfer the dough into the Dutch oven, score the top with a razor or sharp knife, cover, and bake for 20 minutes. Remove the lid, lower the temperature to 425°F), and bake for an additional 25-30 minutes until the crust is golden.
- Cooling: Remove the bread from the oven and cool completely on a wire rack before slicing.
Tips
- Temperature Considerations: Ambient temperature can affect fermentation times. Adjust the proofing duration as needed.
- Starter Activity: Since I refrigerate my starter between bakings, I feed it so that the levain will be ready for baking. Ideally, I do one 50/50 feeding overnight or something, and then another one that will bring the starter/levain up above the amount I need, and be ready for when I want to bake. For my current starter, I think it takes around 6-8 hours for the levain to be ready.
Nutritional Information
Total Nutritional Values (Entire Batch – 2 loaves, ~1,811 g):
| Nutrient | Total Batch |
|---|---|
| Calories | ~4,193 kcal |
| Protein | ~115 g |
| Carbohydrates | ~874 g |
| Fat | ~11.5 g |
Per Loaf (≈905 g each):
| Nutrient | Per Loaf (~905 g) |
|---|---|
| Calories | ~2,096 kcal |
| Protein | ~57.5 g |
| Carbohydrates | ~437 g |
| Fat | ~5.75 g |
Per Serving (50 g; ~36 servings in total):
| Nutrient | Per Serving (50 g) |
|---|---|
| Calories | ~116 kcal |
| Protein | ~3.2 g |
| Carbohydrates | ~24.3 g |
| Fat | ~0.32 g |
Note: These estimates are based on USDA standard values for wheat flour and assume that the active sourdough starter is 50% flour/50% water. Actual nutritional values may vary depending on ingredient specifics and the exact baking loss.


Leave a comment